How to create an AI chatbot for your store in 30 minutes, no code
By The AI Chatbot team4 min read
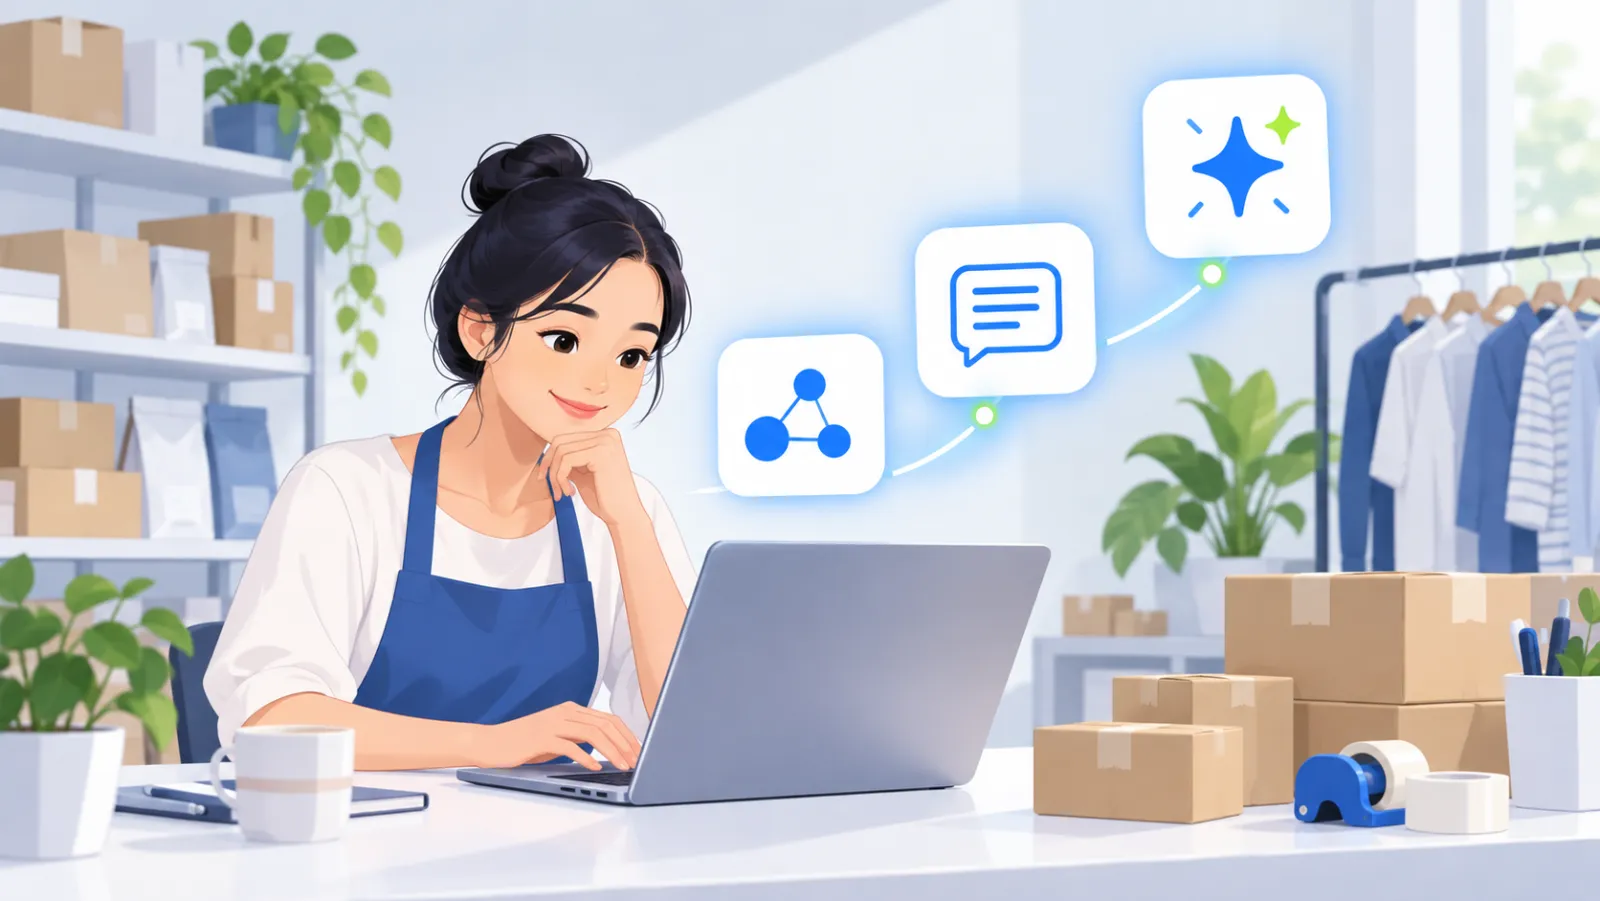
You can create an AI chatbot for your store without code: add knowledge, test answers, connect a channel and publish. With AI Chatbot, a store that already has a website or policy documents usually finishes these four steps in about 30 minutes.
This guide walks through each step with a time estimate and the common mistakes to avoid.
What to prepare first
Having these ready makes the setup much faster:
- Your store's website address, if you have one.
- Policy files: returns, shipping, warranty, payment.
- A product list as CSV, or a WooCommerce or TikTok Shop account to sync.
- Access to your chat channels: Facebook page, Zalo OA, Shopee shop or TikTok Shop.
The 30-minute overview
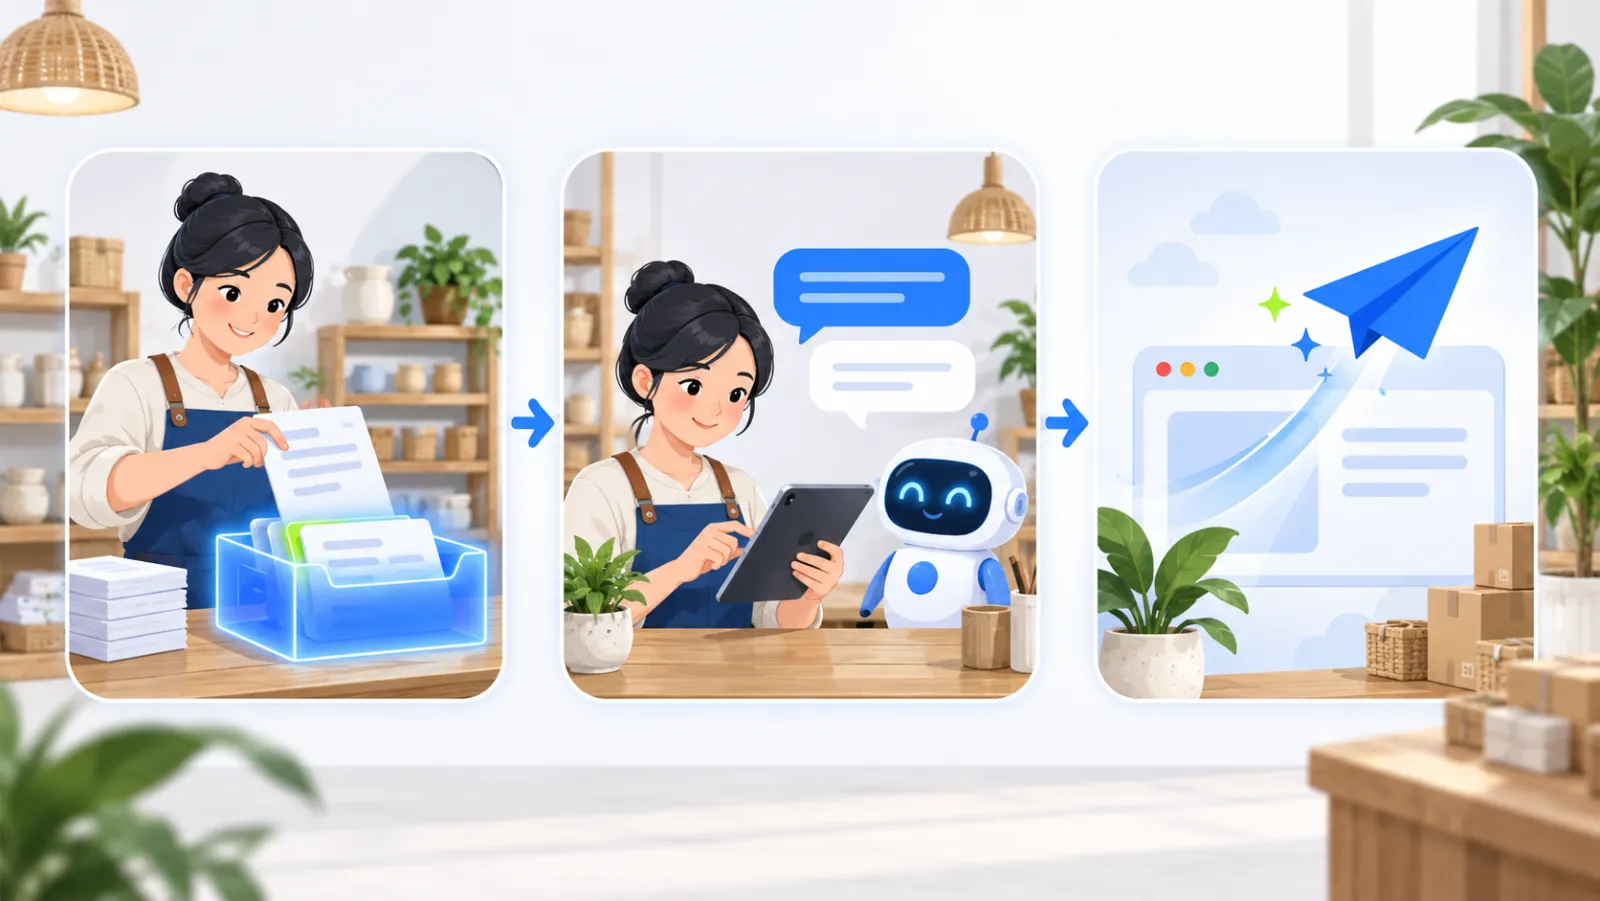
| Step | What you do | Time |
|---|---|---|
| 1 | Create your account and business profile | 5 min |
| 2 | Add knowledge: website, files, products | 10 min |
| 3 | Choose tone and handoff rules | 3 min |
| 4 | Test answers in the preview | 7 min |
| 5 | Connect channels and publish | 5 min |
Reading a large website or many files can take longer, but you do not have to wait: it is processed in the background.
Step 1: Create your account and business profile
Sign up for AI Chatbot and open Business profile. The setup advisor reads your store's data and searches the web to suggest details such as what you sell, who your customers are, where you sell, shipping, returns, warranty and payment.
You simply review and confirm each suggestion. This is also where you list things the chatbot must never say, for example never promising same-day delivery to remote provinces.
Step 2: Add knowledge
Open Knowledge and choose the sources that fit:
- Website: paste the address and the whole site is read. Shopify, Haravan, Sapo, WooCommerce and Magento stores are recognised, including product details.
- Files: upload PDF, DOCX, TXT or CSV. Scanned PDFs are still read in Vietnamese and English.
- Written notes: type information that lives nowhere else, such as this month's promotion.
- Product sync: connect WooCommerce or TikTok Shop so prices and stock update by themselves.
The most important tip: short, clear, current knowledge matters more than a lot of knowledge. If one file mixes old and new policies, the chatbot may answer from the old one.
Step 3: Choose tone and handoff rules
In Assistant, name your assistant and pick a tone: friendly, professional or concise.
Then choose when the chatbot hands off to staff:
- When unsure (recommended): it answers when it finds the information and hands off when it lacks grounds.
- When the customer asks: it only hands off when the customer wants a person.
- Never: it always answers itself; use this only when your knowledge is very complete.
Also turn on email alerts for customers who have waited too long or look ready to buy.
Step 4: Test answers in the private preview
The preview lets you chat with the assistant without customers seeing. Ask at least ten of your most common questions, for example:
- "How much is it?" for a best-selling product.
- "Is it in stock?" for an item that just sold out.
- "How long does delivery take to Hanoi?"
- "Can I exchange it if it doesn't fit?"
- A question your store has no information on, to check the chatbot hands off correctly.
Give each answer a thumbs up or down, and look at the coverage check to see which topics still lack knowledge. If an answer is wrong, fix the knowledge and ask again.
Step 5: Connect channels and publish
Pick the channels your customers use:
| Channel | How to connect |
|---|---|
| Website | Paste the chat widget embed snippet into your site |
| Messenger | Log in to Facebook, grant permission, pick the page |
| Zalo OA | Connect your shop's Zalo Official Account (Vietnam) |
| Shopee | Connect your Shopee shop |
| TikTok Shop | Connect your TikTok shop and grant chat permission |
Finally click Publish so the chatbot starts answering new messages. Page inbox details are in Messenger chatbot for your Facebook page.
After launch: the first week
The first week is when the chatbot learns the most from you:
- Check unanswered questions daily. They group what the chatbot handed off or was unsure about, with the reason.
- Add knowledge for repeat questions. You can fix a weak answer straight from the improve page.
- Read a few real conversations and adjust the tone if needed.
Conclusion
Creating an AI chatbot is no longer a technical project. With a website or a few policy files, you can have an assistant answering customers on every channel this afternoon. To understand the technology behind it, read what is an AI chatbot, or see pricing to start on the free plan.
Frequently asked questions
Can I build a chatbot without knowing how to code?
Yes. Every step happens in the dashboard: paste your website address, upload files, click to connect a channel. Only adding the chat widget to your website needs you to paste a ready-made embed snippet.
What if my shop has no website?
You can still create a chatbot. Upload PDF, DOCX, TXT or CSV files with your products and policies, or type knowledge notes directly, then connect Messenger, Zalo OA, Shopee or TikTok Shop.
Is the free plan enough to try it?
It is enough to start: the free plan includes 5,000 AI credits and 10 knowledge sources a month, and your website is re-checked weekly.
Can I switch the chatbot off after publishing?
Yes. There is an on/off switch for the assistant at any time, and staff can always take over individual conversations in the inbox.